One of the major problems after moving over to the new area is when you don’t like the kitchen sink. So, you are bound to take off the basin layers from the kitchen surface. In this article, you will know how to remove a kitchen sink that is glued down. A renovated house might contain a built-in sink but that’s are not good to use or look at. In the end, you always prioritize your designable sink. So, you go for the replacement of the built-in sink with your new one.
It becomes tougher to take out a built-in sink in a new apartment. Most of the time the reason behind it is staying in one place for periods. The base gets glued with the upper surface of the kitchen layer.
But don’t worry we are here to provide an effective solution to this problem. You won’t be stress out if you go through our article.
How to remove a kitchen sink that is glued down- A complete guidelines
It goes wrong all the time if you try to do something without knowing the proper instruction. You may even stress out by not completing 20 percent of the task that you started. Following the instructions make the work quicker and faster.
In this context, you will get to know about the required tools and the deletion process. Let’s dive into the topic.
Tools
Steps on removing the glued kitchen sink
You should follow the steps effectively before going for the practical workout. It will help you to take out the sink flawlessly.
1. Removing and disconnecting all the appliances from the kitchen
You need to keep everything clean and flat surrounding the kitchen sink. It is a kind of preparation. The sink remains almost closer to the stove area. You must disconnect the gas from the if it’s closer to the sink otherwise it is not necessary.
If you gave geyser connected to your sink you must disconnect the electricity of it. Turn the water connection off. Remove all the kitchen appliances that will create problems while opening the sink out.
Make sure to take off all the gears and sanitation pieces of stuff and keep them in a safe place for reusing it again. Keep off the handles, tapware, and lightning pieces of stuff.
2. Take off the dishwasher and remove the garbage disposal
After cleaning all the appliances and switching off all the necessary connections go for the dishwasher. As the dishwasher remains below the sink area carefully disconnect the plug and take it out.
It is better to see the guidebook of the dishwasher before doing it on your own. You should check the proper way of connections for avoiding a short circuit. After taking it out keep it in a safe place far from the working area.
In this way, take off the garbage disposal through a manual guidebook and keep it away from your working area. It will help you to perform the main activity without any hassle.
3. Disconnection of the drain path
You must disconnect all the drain tubes for stopping the water flow. Otherwise, the whole kitchen will be messed up with water. You need to use the adaptable wrench to adjust the supply lines and turn them off.
4. Drain out the left-over water
While turning off the supply lines you might find few remaining drops of water in the tubes. It is better to drain all of them quickly. Make sure to clear all the remaining water from the drain pipes. It is better to keep a bucket at the bottom to collect the last droplets of water from the pipes. After emptying eliminate the container from that place.
5. Detaching the pipes
As you have cleared all the water and made it dry detach the drain pipes from the sink. You every part of the sink that comes your way. It is important to detach the p-trap pipes under the sink.
6. Taking off the tap
This step is not mandatory but is useful if you perform it. Detaching the faucet helps you to remove the under-mount sinks from synthetic granite. For doing so at first turn down the key faucets for preventing the water flow.
After that, you can open the tap to release the pressure. Then you can lose the bolts for removing the tubes.
7. Lose the clips
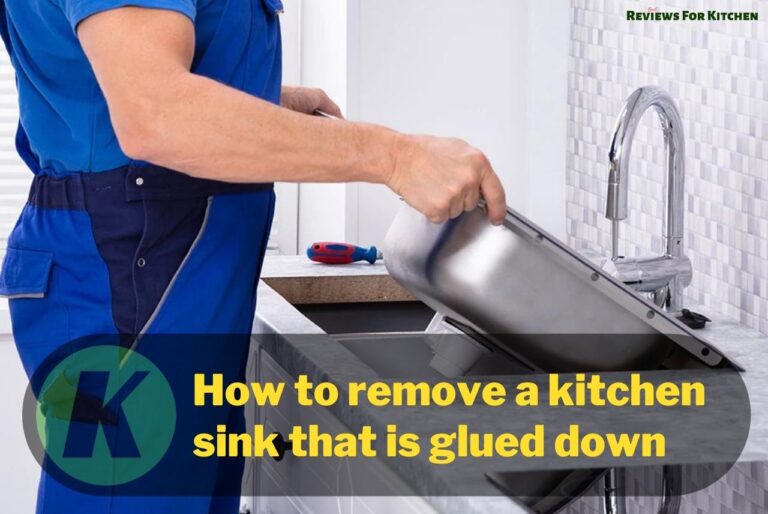
The sink is attached with some clips screwed inside. Find out the clips and start screwing them to open up. Use the screwdriver to do so. While opening most of them the basin will itself lose up from the glued state. It makes your work easier and quicker.
After that with the help of your knife give pressure in an upward direction by placing it among the counter of granite and the sink. In some cases, you need to put extra pressure to take off the sink due to the attachment of liquid nails.
Make sure to use the utility knife because they are hard in length. Extra pressure is needed when the age of the sink is very old otherwise it is easy to lift the sink.
8. Removal of the liquid nails
In the previous steps, you have to loosen the clips for detaching the sink as a pre-basic task. But you need to remove the liquid nails for taking it off the place. Otherwise, you can’t replace it with a new sink.
It is the hardest step and a very stressful part of this whole process. Due to in-bound pressure for a long time, the liquid nails get rusted and stuck with the sink in a hard way.
Use the hairdryer to melt the glues around the nails to make them softer. When it becomes dry and clean you can quickly remove them from the sink. Use the knife to wipe off any waste materials from the surface.
9. Take away the old sink
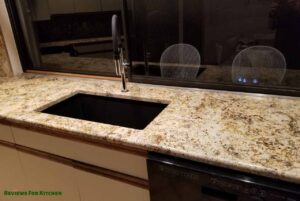
In this step, you need to remove the loose clips and liquid nails from the surface. This is the one that holds the sink with the surface. Most of the sink has an under-mount sink. If you have glued it below the main sink then take it off the area.
Then you need to remove all the supporting edges from below the sink. Hold the basin and lesser it below to take it off completely. Thus, you have finally removed the old sink from that area.
10. Clear the remaining waste for the new sink
When you take away the old glued sink, you will observe some remaining glues in the edges of the surface area. Make sure to clean them up properly. If you feel to change the countertop of your kitchen then clean the old one properly.
Besides, there may be other wastages while working on this task. Take all the remaining wastages from the installation area and put them on the garbage disposal. Otherwise, the new sink might get stuck or leak while fitting on that surface.
FAQ
– The main trick of removing the gluey layer surrounding the sink is to cut it down. You have to place the edge of the knife below the counter.
It is the region where the sink puts its rim surrounding the caulk. While cutting all the way horizontally keep the other hand below the sink to prevent the quick fall.
– After doing all the steps mentioned in this article, you go for taking out the kitchen sink. While doing manually, you may eventually damage the countertop. So, to prevent damages you can use plastic wedges. Put the blade in the wedges to make it easier.
– Follow the steps below to lose the countertop quickly.
- Spray around the edge of the countertop with adhesive and keep it for an hour
- With the knife pull of the adhesive from the layer
- Lastly, put the required tools beneath the countertop and make it lose to lift
– At first, you need to find out the large nut that is situated at the tail of the pipe. Now, turn your wrenches in counterclockwise and unscrew them.
Final verdict
Removing a glued sink is not tough if you go according to the instructions mentioned in this article. Make sure to remove all the necessary appliances surrounding the working area. Don’t let anything make an obstacle surrounding the sink area.
Keep all the necessary tools near to your hand because you need to hold the bottom of the sink often while performing other steps. The process(How to remove a kitchen sink that is glued down) does not consume a fixed amount of time. It varies from person to person.
So, we hope that now you know how to remove a kitchen sink that is glued down properly. Make sure to go through our article and follow the instruction carefully.
You May Also Like to know
- Kitchen Faucets Buying Guide | Complete Buying Guide
- How to replace a Kitchen Faucet | Replace it within an hour
- How to Fix a Leaking Kitchen Faucet in a Proper Way
- How to Clean Kitchen Faucet – Basic and Deep Cleaning Process
- Why Is The Water In My Faucets Brown And Cloudy?
- How to Repair Low Pressure in A Kitchen Faucet? – The Plumbing Solution
- How to Clean Delta Kitchen Faucet Head?
- How to Clean a Delta Pull Down Kitchen Faucet Aerator?
- How to Remove Aerator from Moen Kitchen Faucet? Unearth the Best Tricks!
- How To Remove A Kitchen Sink That Is Glued Down?
- Best Kitchen Sink Buying Guide | Don’t Waste Your Money
- How to Change a Water Filter Cartridge | 8 Easy Steps
- Worry Not, Here I Am To Answer Your Question – How To Clean Kitchen Sink?
- Cheap And Quality Short Garbage Disposal Flange
- How To Plumb A Double Kitchen Sink With Disposal And Dishwasher

